
There are times when you might need to issue a self-signed SSL certificate for local intranet web applications, especially when the application vendor includes a self-signed SSL certificate for their application, but not for your specific internal domain. The process of creating a self-signed certificate has become much easier lately.
One option is to download and install Git Bash for Windows (https://git-scm.com/downloads). Git-2.37.1-64-bit.exe is the latest version as of this posting, which includes the OpenSSL library. If you use Git Bash to create an SSL certificate, the key is to make sure you put "winpty" in front of the OpenSSL command in the shell, or the command will lock up the terminal window. There are plenty of articles on the web that explain how to use openssl to create RooCA certs and self-signed certificates for use on your internal network.
Example: winpty openssl genpkey -algorithm RSA -des3 -out c:\folder\my-private-key.pem -pkeyopt rsa_keygen_bits:4096
A second option is to use the New-SelfSignedCertificate commandlet within Windows Powershell (version 5.1 or later).
Example:
$todaydt=Get-Date
$3years=$todaydt.AddYears(3)
New-SelfSignedCertificate -dnsname myserver.domain.local -notafter $3year -CertStoreLocation cert:\\LocalMachine\My
*note1: the -notafter switch is not valid on versions of Windows Server prior to 2016. Also, the cert:\\LocalMachine\My stores the new self-signed certificate in the signed-on user's local certificate datastore
An output similar to below will be shown. Note the thumbprint as you'll need to use that in the next command.
Directory: https://lnkd.in/dThSAdpY\\Certificate::LocalMachine\\My
Thumbprint Subject
---------- -------
54005B7DB6DC641F9EF982BACD9A8CBEB1D2E15F CN=myserver.domain.local
Next, you'll need to create a .pfx file.
Example:
$CertPassword = ConvertTo-SecureString -String "passw0rd!" -Force -AsPlainText
Export-PfxCertificate -Cert cert:\\LocalMachine\My\\54005B7DB6DC641F9EF982BACD9A8CBEB1D2E15F -FilePath "C:\\PutAFolderNameHere\\myserverHttpsCert.pfx" -Password $CertPassword
To generate the pem, key, crt, and cer files, it's easiest to use the Git Bash shell OpenSSL utility.
Run the following commands:
*note: enter pwd at the $ prompt in Git Bash to find out the default directory path to place your pfx file.
winpty openssl pkcs12 -in mysslcertfile.pfx -out mysslcertfile.pem -clcerts
(*note: this will prompt for password that was used in the $Certpassword to generate the PFX file earlier)
winpty openssl pkcs12 -in mysslcertfile.pfx -nocerts -out mysslcertfile.key
winpty openssl pkcs12 -in mysslcertfile.pfx -nocerts -out mysslcertfile-encrypted.key
winpty openssl rsa -in mysslcertfile-encrypted.key -out mysslcertfile-decrypted.key
winpty openssl pkcs12 -in mysslcertfile.pfx -clcerts -nokeys -out mysslcertfile.crt
winpty openssl x509 -inform pem -in mysslcertfile.crt -outform der -out mysslcertfile.cer
*note: you'll obviously replace "mysslcertfile" with the actual cert file name, example: subdomain.domain.com
You'll need to follow the application vendor's instructions for installing your new SSL cert, or in the case of an internally-developed application, install the SSL cert into IIS or Apache using instructions found elsewhere.
After creating the .pfx file, you'll need to import it into your PC's local root certificate store. Go to the Windows Search bar and type MMC (Microsoft Management Console), run as administrator. Got to File -> Add or Remove Snap-ins -> Certificates and click Add and then OK. Next, Navigate to the Certificates (Local Computer) add-in, then right-click on Trust Root Certification Authorities -> All Tasks -> Import. In the Certificate Import Wizard click Next, Browse and go to the folder where you output your PFX file, select the file, click Open, Next and then finish the wizard.
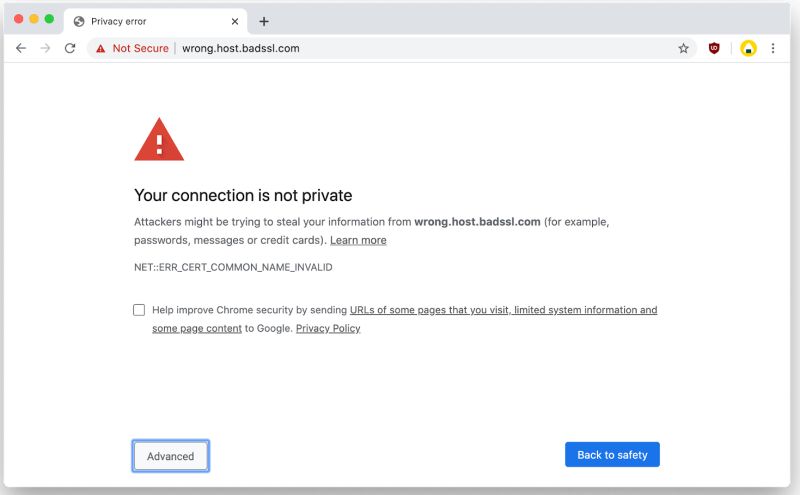
Now, when you browse to your intranet web application you should not get the "Your Connection is Not Private" error, but rather it will now reflect it as an SSL site.
One option is to download and install Git Bash for Windows (https://git-scm.com/downloads). Git-2.37.1-64-bit.exe is the latest version as of this posting, which includes the OpenSSL library. If you use Git Bash to create an SSL certificate, the key is to make sure you put "winpty" in front of the OpenSSL command in the shell, or the command will lock up the terminal window. There are plenty of articles on the web that explain how to use openssl to create RooCA certs and self-signed certificates for use on your internal network.
Example: winpty openssl genpkey -algorithm RSA -des3 -out c:\folder\my-private-key.pem -pkeyopt rsa_keygen_bits:4096
A second option is to use the New-SelfSignedCertificate commandlet within Windows Powershell (version 5.1 or later).
Example:
$todaydt=Get-Date
$3years=$todaydt.AddYears(3)
New-SelfSignedCertificate -dnsname myserver.domain.local -notafter $3year -CertStoreLocation cert:\\LocalMachine\My
*note1: the -notafter switch is not valid on versions of Windows Server prior to 2016. Also, the cert:\\LocalMachine\My stores the new self-signed certificate in the signed-on user's local certificate datastore
An output similar to below will be shown. Note the thumbprint as you'll need to use that in the next command.
Directory: https://lnkd.in/dThSAdpY\\Certificate::LocalMachine\\My
Thumbprint Subject
---------- -------
54005B7DB6DC641F9EF982BACD9A8CBEB1D2E15F CN=myserver.domain.local
Next, you'll need to create a .pfx file.
Example:
$CertPassword = ConvertTo-SecureString -String "passw0rd!" -Force -AsPlainText
Export-PfxCertificate -Cert cert:\\LocalMachine\My\\54005B7DB6DC641F9EF982BACD9A8CBEB1D2E15F -FilePath "C:\\PutAFolderNameHere\\myserverHttpsCert.pfx" -Password $CertPassword
To generate the pem, key, crt, and cer files, it's easiest to use the Git Bash shell OpenSSL utility.
Run the following commands:
*note: enter pwd at the $ prompt in Git Bash to find out the default directory path to place your pfx file.
winpty openssl pkcs12 -in mysslcertfile.pfx -out mysslcertfile.pem -clcerts
(*note: this will prompt for password that was used in the $Certpassword to generate the PFX file earlier)
winpty openssl pkcs12 -in mysslcertfile.pfx -nocerts -out mysslcertfile.key
winpty openssl pkcs12 -in mysslcertfile.pfx -nocerts -out mysslcertfile-encrypted.key
winpty openssl rsa -in mysslcertfile-encrypted.key -out mysslcertfile-decrypted.key
winpty openssl pkcs12 -in mysslcertfile.pfx -clcerts -nokeys -out mysslcertfile.crt
winpty openssl x509 -inform pem -in mysslcertfile.crt -outform der -out mysslcertfile.cer
*note: you'll obviously replace "mysslcertfile" with the actual cert file name, example: subdomain.domain.com
You'll need to follow the application vendor's instructions for installing your new SSL cert, or in the case of an internally-developed application, install the SSL cert into IIS or Apache using instructions found elsewhere.
After creating the .pfx file, you'll need to import it into your PC's local root certificate store. Go to the Windows Search bar and type MMC (Microsoft Management Console), run as administrator. Got to File -> Add or Remove Snap-ins -> Certificates and click Add and then OK. Next, Navigate to the Certificates (Local Computer) add-in, then right-click on Trust Root Certification Authorities -> All Tasks -> Import. In the Certificate Import Wizard click Next, Browse and go to the folder where you output your PFX file, select the file, click Open, Next and then finish the wizard.
Now, when you browse to your intranet web application you should not get the "Your Connection is Not Private" error, but rather it will now reflect it as an SSL site.
 RSS Feed